
Apply for Vietnam tourist visa online in 15 minutes. Just fill the form, pay the fee, and get your e-Visa via email in 3 days. Fast, easy, and 100% official.
Based on my own experience, applying for a Vietnamese tourist visa online (e-Visa) is quite simple; you just need to fill out the form, upload a passport photo, and make the payment. If you prepare the right documents, the whole process is quick and not as complicated as many people think.
Can I apply for Vietnam tourist visa online?
Many people still wonder if it’s possible to apply for a Vietnamese tourist visa online, and I used to have the same question before researching. After experiencing it firsthand, I realized that it’s entirely possible to apply online through e-Visa, and the process is quite simple.
I just need to access the link https://evisa.gov.vn/ and fill in the information according to my passport, upload a portrait photo and a scanned copy of my passport, then pay the fee, and that was it. There was no need to go to the Embassy or complete any procedures in person.
The results were sent via email after a few days, which was very convenient and time-saving for my trip to travel Vietnam. In my opinion, if you prepare all the necessary documents and fill in the information correctly, applying for a Vietnamese tourist visa online is not as complicated as many people think.
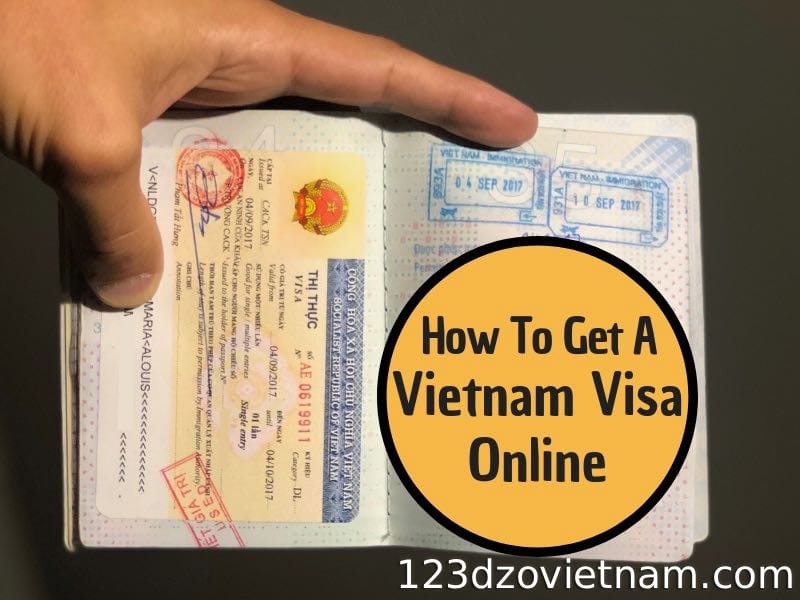
How I applied for a Vietnamese tourist visa online in just 3 steps
As an Australian tourist, I initially thought applying for a Vietnamese tourist visa online would be complicated, but it turned out to be simple, fully online, and I received my e-Visa within a few days.
Step 1: Prepare the necessary documents for applying for a visa online
Before submitting my application to apply for Vietnam tourist visa online, I took the time to prepare all the required documents. This is a crucial step because if any documents are missing or incorrectly formatted, the application is very likely to be rejected or have to be redone, wasting extra time.
- Australian passport must be valid for at least 6 months: This is a mandatory requirement. I also double-checked to make sure the passport had blank pages.
- Digital portrait photo: The photo must have a white background, no glasses, and the face clearly visible. I took it with my phone but adjusted the size to meet the requirements.
- Scanned image of the passport information page: I captured the page containing my photo and personal information, ensuring it was clear and not blurry or overexposed.
- Personal email: Since the visa results are sent via email, I made sure to check my inbox regularly.
- International payment card: I used my Visa card to pay the fees online.
In my experience, thorough preparation from the start saves a lot of time in the later steps.
Step 2: Choose Visa Type and Validity Period
After gathering all the necessary documents, I proceeded to choose the visa type that best suited my travel plans. This step might seem simple, but it’s actually quite important because choosing the wrong one could mean having to reapply from scratch.
- Choose the right purpose: I chose a tourist visa (tourist e-Visa) because I was only visiting Vietnam for sightseeing and relaxation.
- Choose your visa duration: I noticed the option allows up to 90 days, so I considered my schedule carefully to avoid choosing a duration that was too short or unnecessarily long.
- Select the number of entries:
- Single entry (I only visited Vietnam once)
- Multiple entry (You can enter and exit multiple times within the visa validity period)
I chose the single-entry visa because my trip was a one-time visit, with no plans to leave and return to Vietnam. This option suited my schedule and helped me save money compared to an unnecessary multiple-entry visa.
Step 3: Fill out the form and make the payment
This is the most important step, but it’s actually quite easy if you do it carefully. I accessed the official website of the Vietnam Immigration Department (https://evisa.gov.vn/), followed the instructions, filled in all the information, and completed the entire process in about 10–15 minutes.
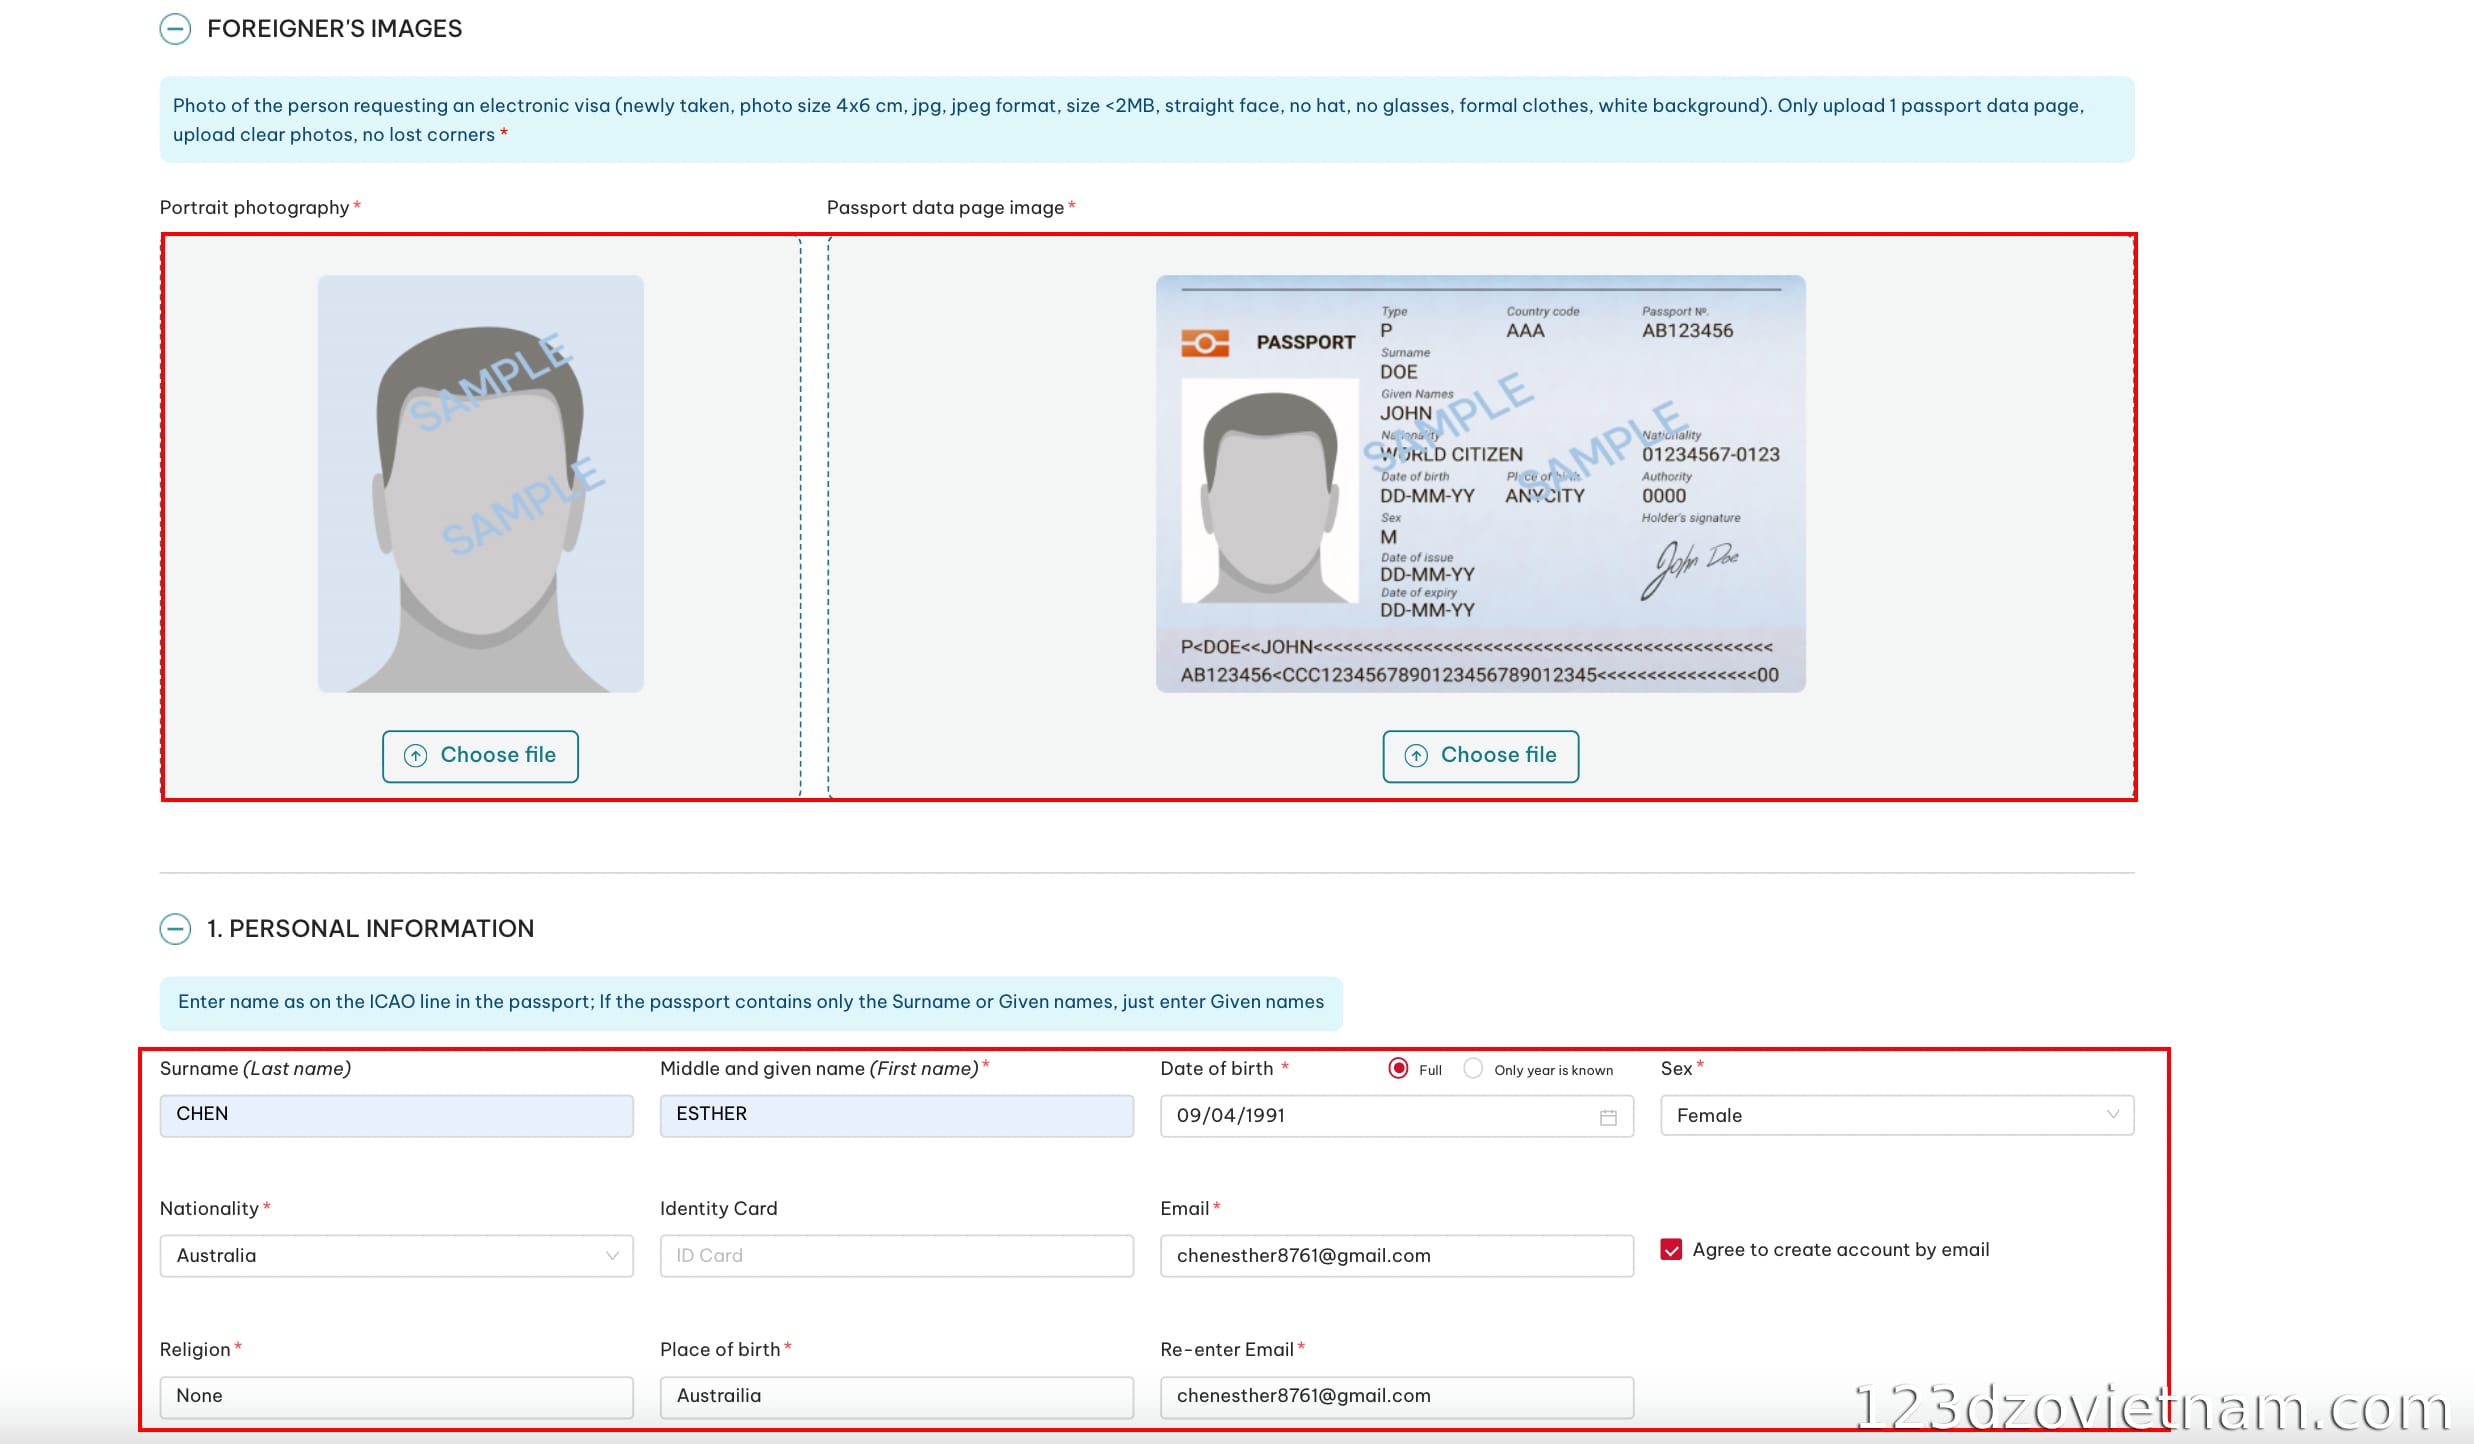
- Fill in your personal information: This includes images, full name, passport number, and date of birth. I entered everything exactly as shown on my passport to avoid errors.
- Fill in your trip information: Expected date of entry and place of stay in Vietnam (hotel or temporary address).
- Upload files: Include your pre-prepared portrait photo and passport scan.
- Double-check all information: I reviewed everything carefully because even a small mistake could affect entry.
- Payment of fees: I paid around $25–$50 USD depending on the visa type using an international credit card.
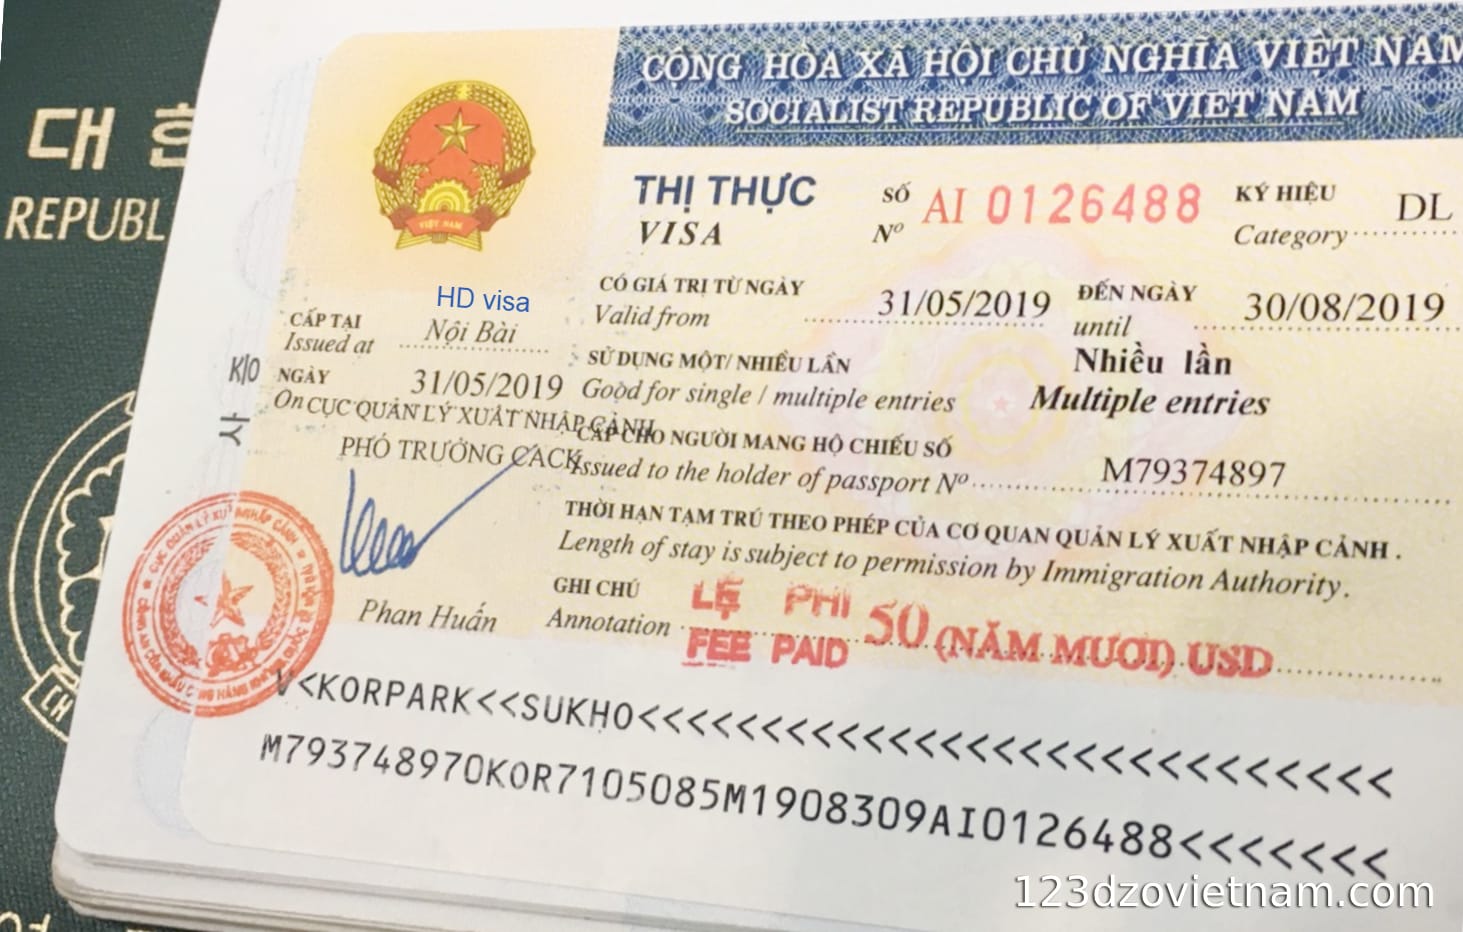
- Receive your application code and wait for results: After submitting, I received a tracking code and waited approximately 3–5 business days for the results via email.
Once I received my e-Visa in PDF format, I simply printed it out or saved it on my phone to present upon arrival in Vietnam.
How long to get Vietnam visa online? What are the entry requirements?
Before submitting my application, I had quite a few question marks about the processing time and whether entering the country would be complicated after receiving the e-Visa. But after experiencing it firsthand, I found both steps to be quicker and easier than I had imagined.
Regarding how long to get Vietnam visa online, my application was processed within approximately 3–5 business days from the time the payment was completed. In some cases, if submitted during peak periods or weekends, it may take a little longer, as the processing agency does not work on holidays.
I also noticed that there are services offering faster processing (1–2 days), but for normal needs, the standard processing time is sufficient. After approval, I received my e-Visa file in PDF format via email, which was very convenient because I didn’t need to go anywhere to collect it.
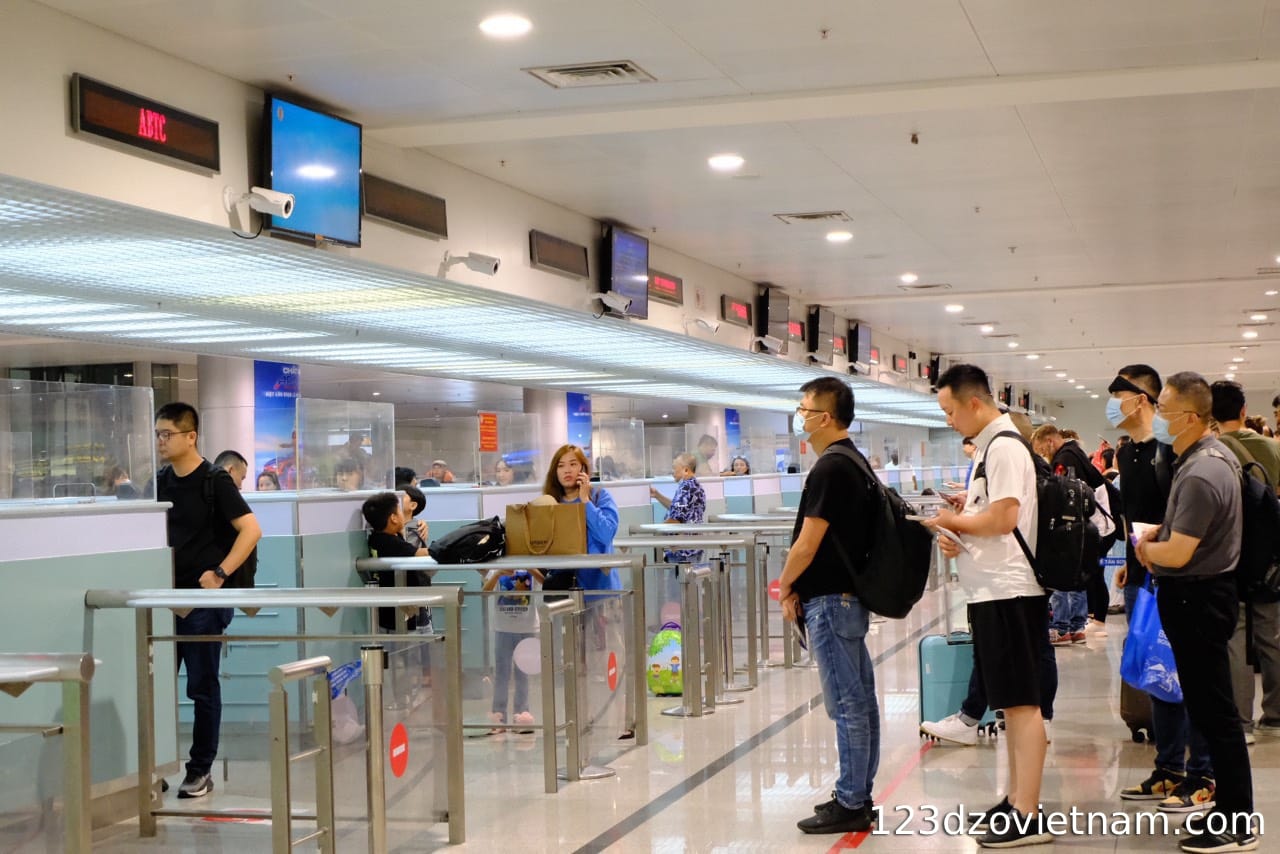
As for immigration procedures, everything was quite simple. When I arrived at the airport in Vietnam, I only needed to prepare:
- A valid passport
- A printed copy or digital file of my e-visa Vietnam application
At the immigration counter, I presented these documents to the officer. They checked the information against the system and compared it with my passport and e-Visa. If everything matched, I was stamped for entry immediately without any complicated procedures.
In my experience, the entire process from visa application to entry was very smooth. Just apply about a week before your trip and double-check your information to avoid any issues.
05 important notes when applying for a Vietnam tourist visa online
During the process of applying for an e-Visa myself, I realized there are some small details that directly affect how quickly your application is approved. If you don’t pay attention, you may waste time correcting mistakes or even need to reapply.
- The information must match your passport 100%: Even a single incorrect character can lead to rejection or issues upon entry.
- Photos must meet the required standards: Blurry, overexposed, or incorrectly formatted images may result in additional requests.
- Choose the correct entry point: You must select a specific airport or border crossing (e.g., Noi Bai, Tan Son Nhat).
- Apply at least 7–10 days in advance: Delays can happen due to weekends or additional checks.
- Use only the official website: Avoid third-party services that charge higher fees unnecessarily.
Conclusion
Based on my personal experience, apply for Vietnam tourist visa online is entirely self-service, quick, and uncomplicated if you prepare correctly from the start. Just follow the process carefully and pay attention to key details, and you can receive your e-Visa within a few days and enjoy your trip with peace of mind.


